IMPORTANT NOTE – We recommend a fresh WordPress install for installing Offshore.
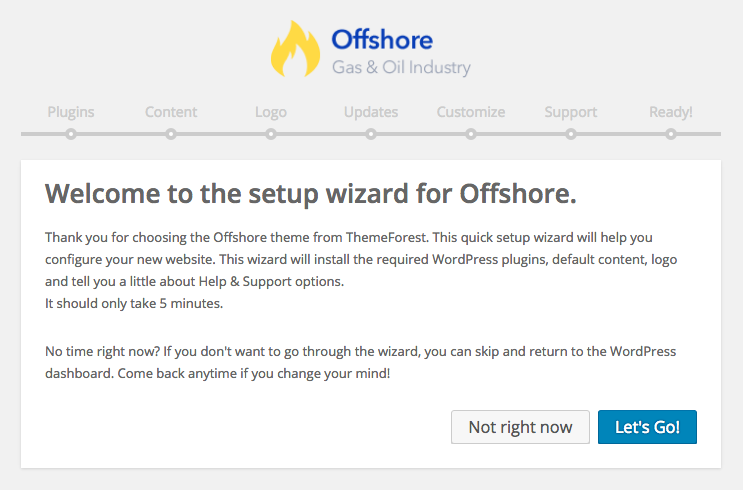
Once you activate Offshore, you will be redirected to the setup wizard as shown in the below image. Setup wizard makes it super easy to install Offshore. No messing about with tricky settings, just click a few buttons and you’re up and running like the live demo.
- Step 1 – Plugins – Offshore includes 10 plugins that are needed to be installed and activated. Only Offshore Core plugin is required for the theme to work, it contains most of the theme features like shortcodes and shortcode generator, careers and testimonials. Rest of the plugins are recommended as they enhances the capabilities of Offshore theme. Click continue to install all the plugins.

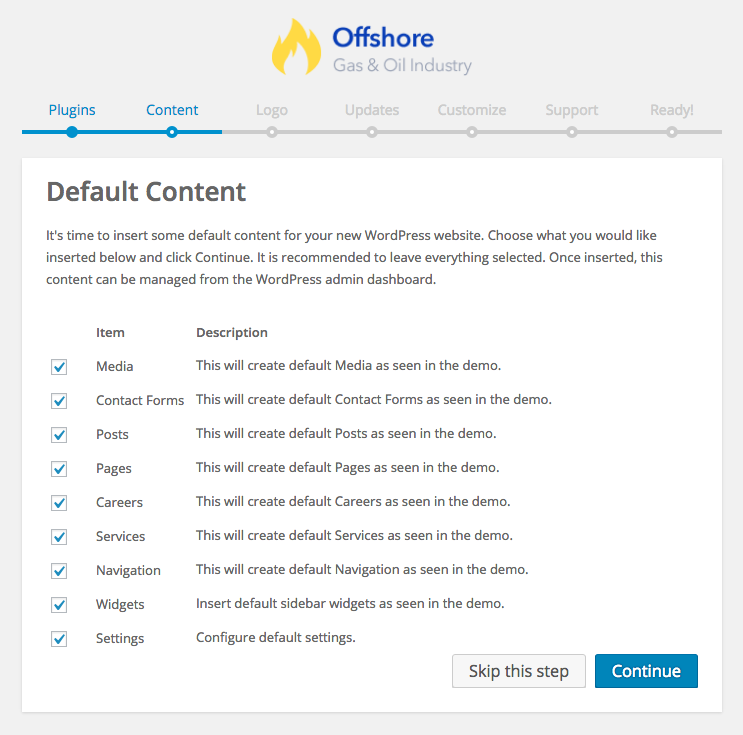
- Step 2 – Content – Inserts demo content for your new WordPress website. Choose what you would like inserted below and click Continue. It is recommended to leave everything selected. Once inserted, this content can be managed from the WordPress admin dashboard. Click continue to install demo content.
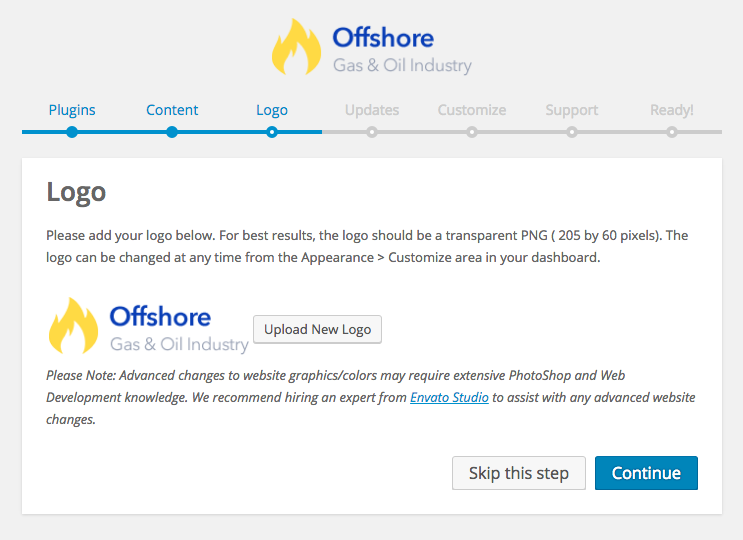
- Step 3 – Logo – Upload your logo image. If you skip this step or do not upload a logo then your website name and description will be displayed in place of the logo.For best results, the logo should be a transparent PNG ( 205 by 60 pixels). The logo can be changed at any time from the Appearance > Customize area in your dashboard. Click continue to go to next step.
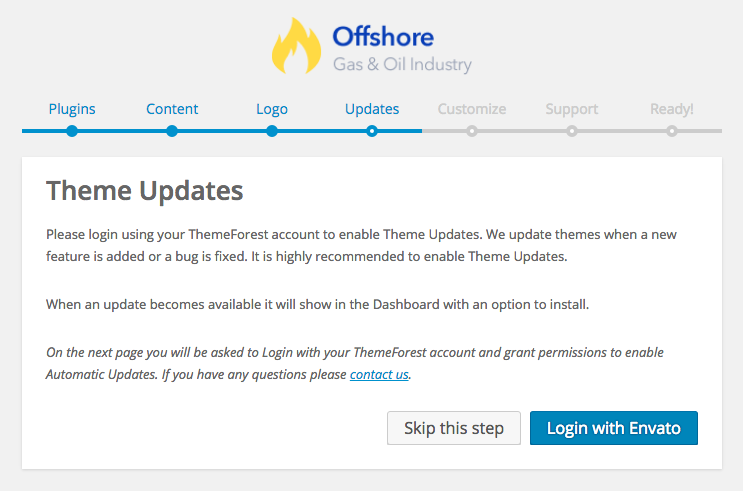
- Step 4 – Updates – Please login using your ThemeForest account to enable Theme Updates. We update themes when a new feature is added or a bug is fixed. It is highly recommended to enable Theme Updates. When an update becomes available it will show in the Dashboard with an option to install. Click Login with Envato button and sign in with the envato account that you used to buy Offshore. Grant the required permissions. Click continue to go to next step.
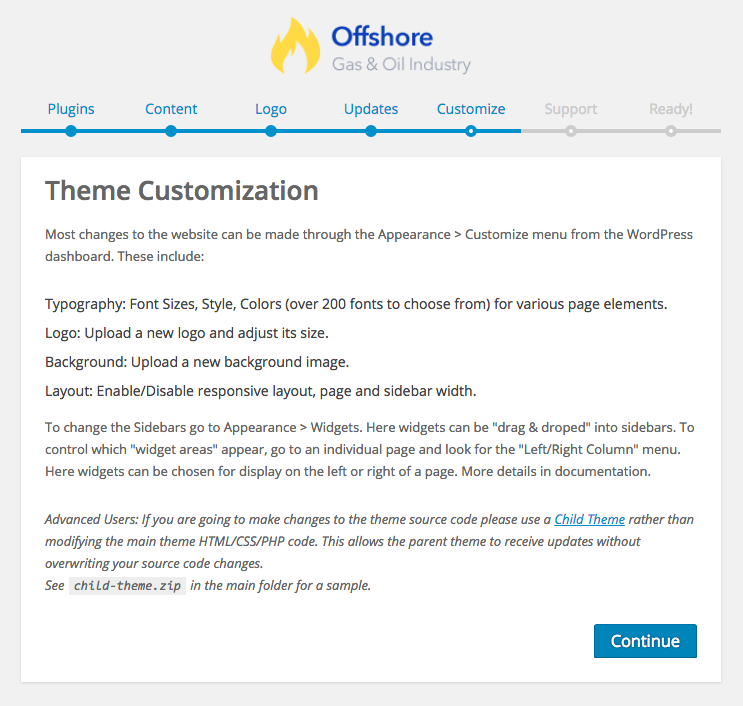
- Step 5 – Customize – This step provides important information on theme customization. We recommend using child theme for theme customization. Please go through the information and then click continue.
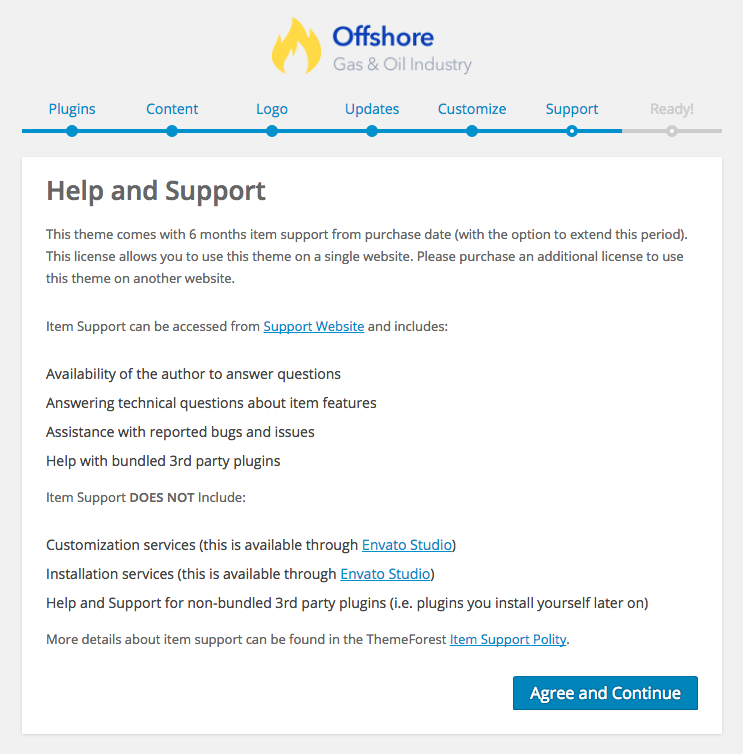
- Step 6 – Support – This step provides important information on theme support. Please read it carefully and then click Agree and Continue button to go to last and final step.
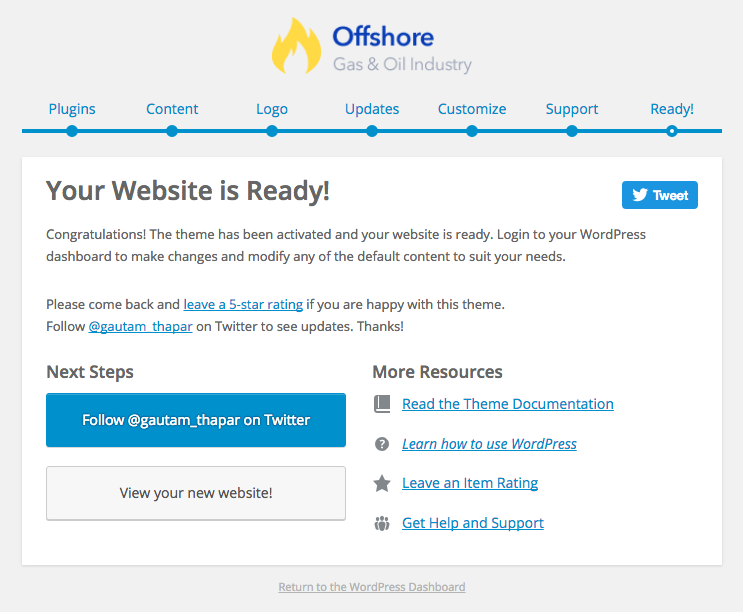
- Step 7 – Ready – Congratulations! The theme has been activated and your website is ready. Now you can either view your new website or return back to the WordPress dashboard. Login to your WordPress dashboard to make changes and modify any of the default content to suit your needs.
Things to do after you have finished the theme setup wizard
1. Import Slider
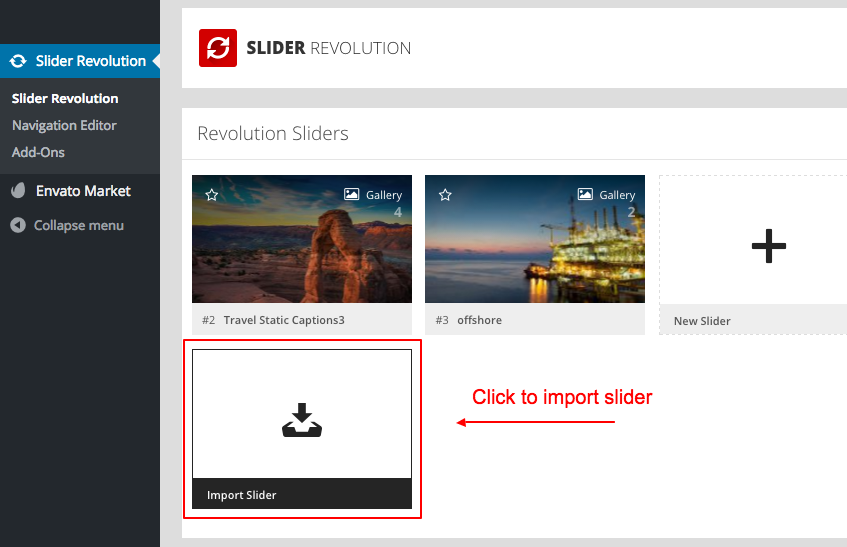
- Step 1 – Go to Dashboard > Slider Revolution.
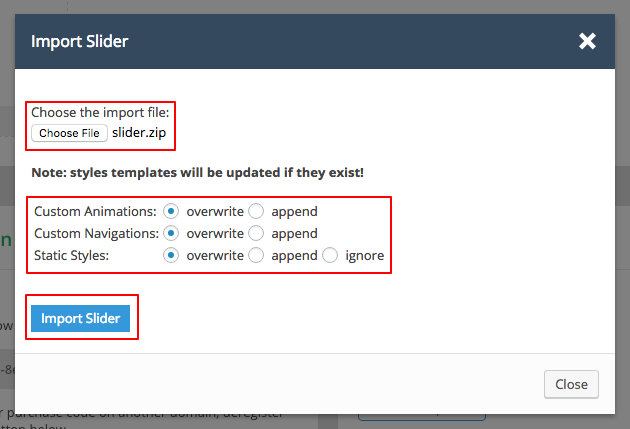
- Step 2 – Click ‘Import Slider‘. Select and then click ‘Choose File‘ button.
- Step 3 – Navigate to the complete theme ZIP file (with documentation) you downloaded from ThemeForest. Extract and enter the folder. Locate slider.zip.
- Step 4 – Now click ‘Import Slider‘.
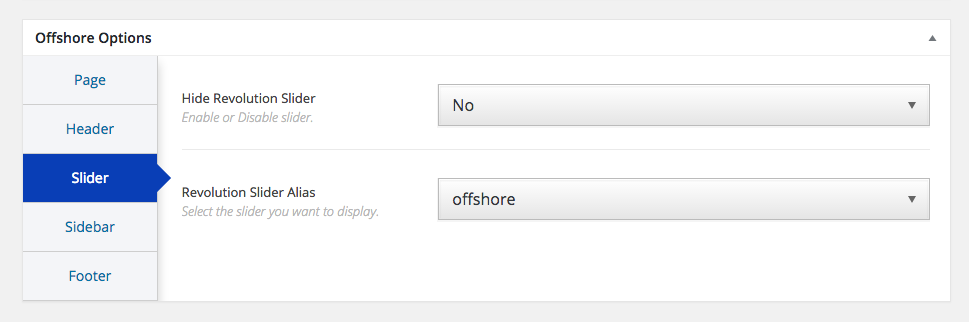
- Step 5 – Now go to Dashboard > Pages > Home and make sure the slider settings are same as shown in the below image.